| .github/workflows | ||
| back | ||
| doc/images | ||
| e2e | ||
| front | ||
| .env.template | ||
| .gitignore | ||
| deeployer.libsonnet | ||
| docker-compose.ci.yml | ||
| docker-compose.yaml | ||
| README.md | ||
| Vagrantfile.template | ||
![]()
Work Adventure
Work in progress
Work Adventure is a web-based collaborative workspace for small to medium teams (2-100 people) presented in the form of a 16-bit video game.
In Work Adventure, you can move around your office and talk to your colleagues (using a video-chat feature that is triggered when you move next to a colleague).
Getting started
Install Docker.
Run:
docker-compose up
The environment will start.
You should now be able to browse to http://workadventure.localhost/ and see the application.
Note: on some OSes, you will need to add this line to your /etc/hosts file:
/etc/hosts
workadventure.localhost 127.0.0.1
Designing a map
If you want to design your own map, you can use Tiled.
A few things to notice:
- your map can have as many layers as your want
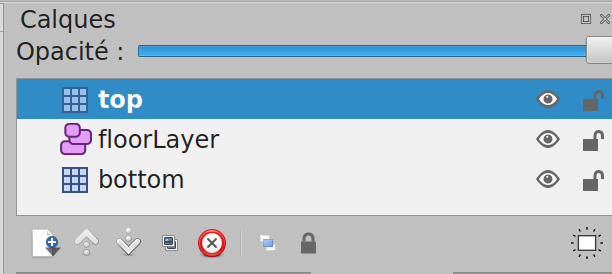
- your map MUST contain a layer named "floorLayer" of type "objectgroup" that represents the layer on which characters will be drawn.
- the tilesets in your map MUST be embedded. You can refer to an external typeset in a TSX file. Click the "embed tileset" button in the tileset tab to embed tileset data.
- your map MUST be exported in JSON format. You need to use a recent version of Tiled to get JSON format export (1.3+)
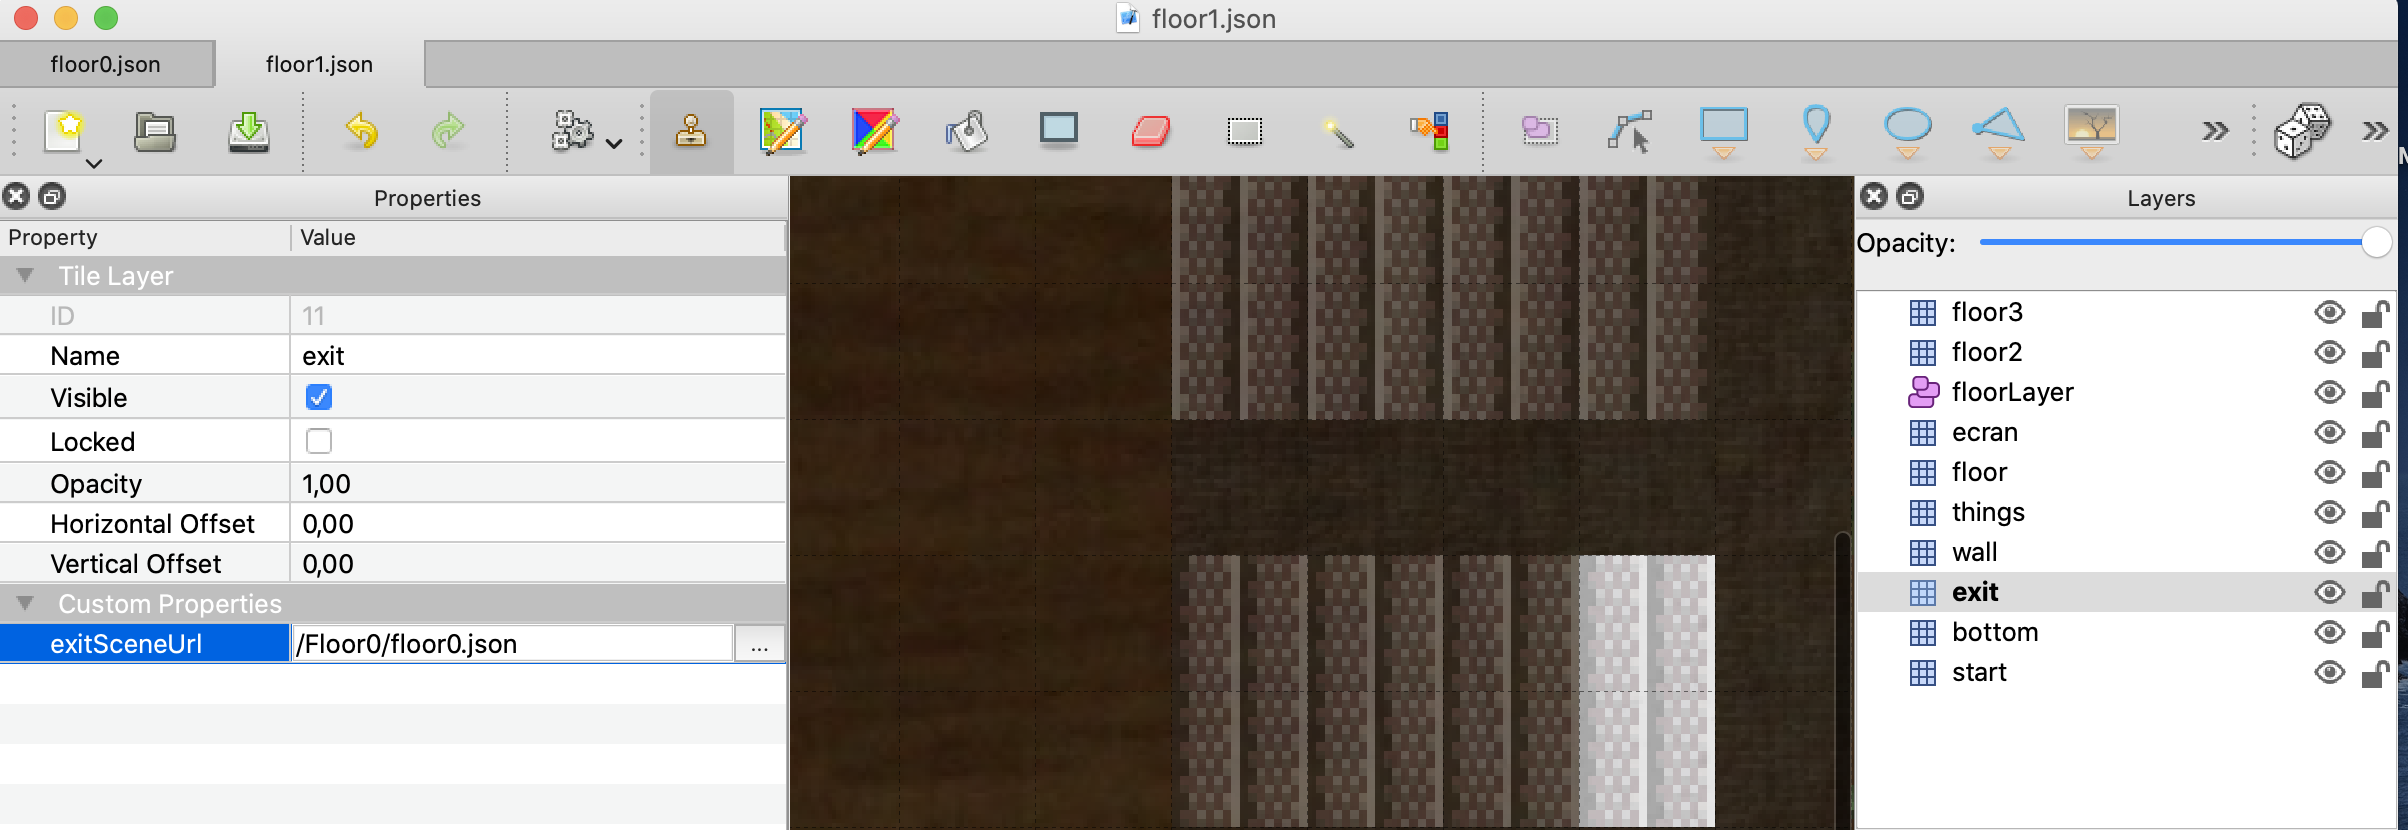
If you have exit scene
- You must create layer "exit". The layer have cases where the gamer can switch to the next scene.
- In layer properties, you must add "exitSceneUrl" property. It represents a url map of the next scene For exemple :
/<map folder>/<map>.json. Be careful, if you want that the next map will be correctly loaded, you must check that the map files are in folderback/src/Assets/Maps/<your map folder>. The files will be accessible by url<HOST>/map/files/<your map folder>/....
MacOS developers, your environment with Vagrant
If you are using MacOS, you can increase Docker performance using Vagrant. If you want more explanations, you can read this medium article.
Prerequisites
- VirtualBox* 5.x Latest version https://www.virtualbox.org/wiki/Downloads
- Vagrant 2.2.7 Latest version https://www.vagrantup.com/downloads.html
First steps
Create a config file Vagrantfile from Vagrantfile.template
cp Vagrantfile.template Vagrantfile
In Vagrantfile, update VM_HOST_PATH with the local project path of your machine.
#VM_HOST_PATH# => your local machine path to the project
(run pwd and copy the path in this variable)
To start your VM Vagrant, run:
Vagrant up
To connect to your VM, run:
Vagrant ssh
To start project environment, run
docker-compose up
You environment runs in you VM Vagrant. When you want stop your VM, you can run:
Vagrant halt
If you want to destroy, you can run
Vagrant destroy
Available commands
Vagrant up: start your VM Vagrant.Vagrant reload: reload your VM Vagrant when you change Vagrantfile.Vagrant ssh: connect on your VM Vagrant.Vagrant halt: stop your VM Vagrant.Vagrant destroy: delete your VM Vagrant.
Features developed
You have more details of features developed in back README.md.